This article contains affiliate links. We may earn a commission from qualifying purchases.
Some content on this site is AI-assisted and reviewed by our editorial team.
Dog agility is one of the best activities you can do with your dog. It provides intense physical exercise, mental stimulation, builds confidence in shy dogs, and strengthens the bond between you and your pet. The only problem is that a full set of agility equipment costs 200 to 500 Dollars from specialty retailers — and most owners are not sure their dog will even like it before they spend that kind of money.
The solution is to build your own. A Complete backyard agility course — jump bars, weave poles, a pause table, and a tunnel — can be built for under 50 dollars using PVC pipe, connectors, and a few household items. No carpentry skills required. If you can cut PVC pipe with a handsaw and push fittings together, you can build a full course in one afternoon.
What You Need: The 50-Dollar Shopping List
Here is everything you need to build four obstacles: a jump bar, weave poles, a pause table, and a tunnel. All of it is available at any hardware store or on Amazon.
| Item | Quantity | Estimated Cost |
|---|---|---|
| 1-inch PVC pipe (10-foot lengths) | 4 | 24 dollars (6 dollars each) |
| 1-inch PVC T-joint connectors | 8 | 8 dollars |
| 1-inch PVC elbow connectors (90 degree) | 4 | 4 dollars |
| 1-inch PVC end caps | 12 | 6 dollars |
| PVC cement (optional, for permanent joints) | 1 small can | 5 dollars |
| Colored electrical tape (for visibility) | 2 rolls | 4 dollars |
| Children’s play tunnel (for tunnel obstacle) | 1 | 15 dollars |
| Old plank or sturdy box (for pause table) | 1 | Free (repurpose) |
Total: approximately 66 dollars — but if you already have a suitable box or plank for the pause table and skip the PVC cement (press-fit connections work fine for backyard use), the cost drops to about 57 dollars. If you buy PVC in bulk or have some left from other projects, you can easily stay under 50 dollars.
Obstacle 1: The Jump Bar (About 15 Dollars)
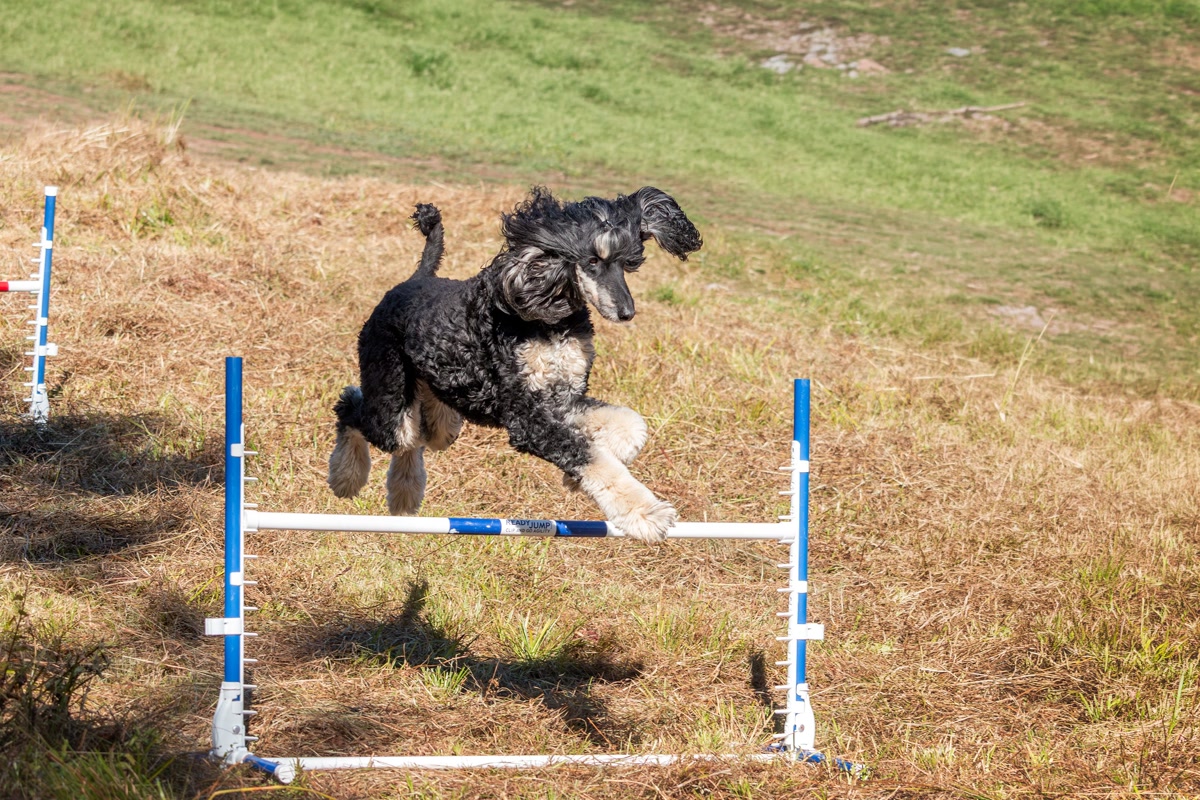
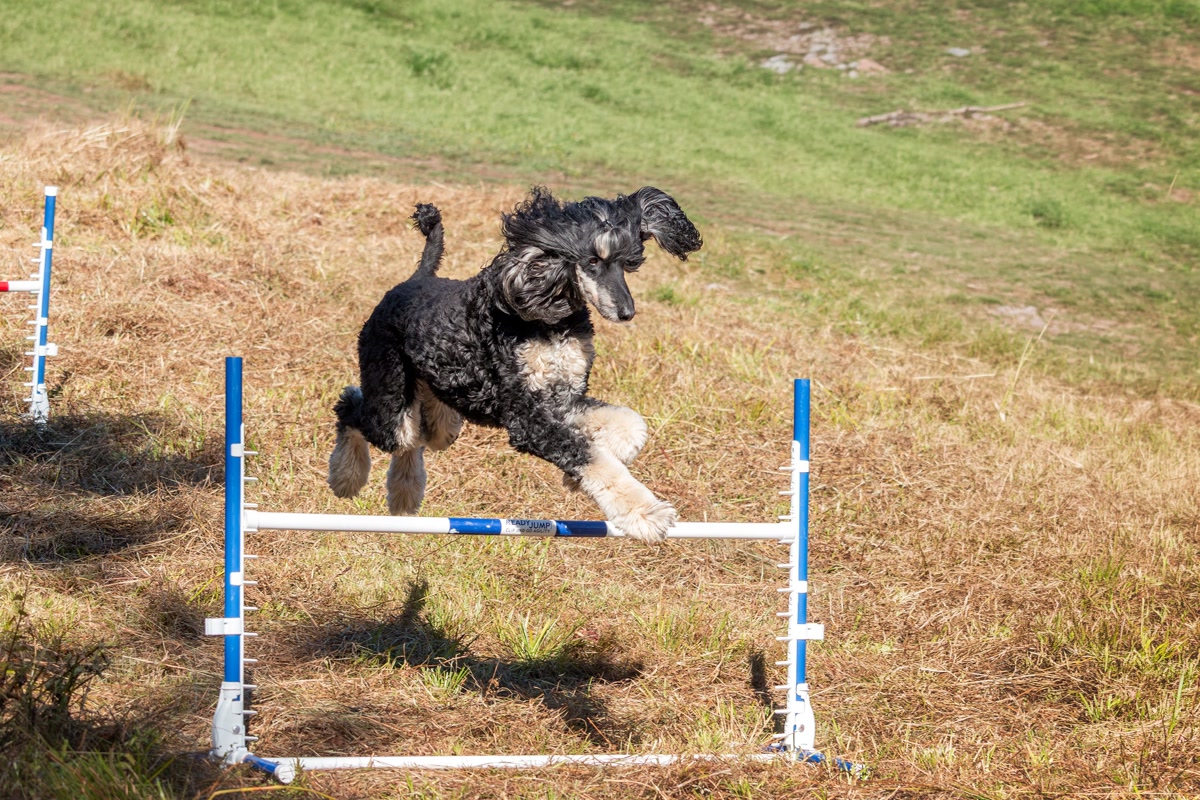
The jump bar is the most iconic agility obstacle and the easiest to build. Your dog learns to jump over a horizontal bar at a set height without knocking it off.
Materials:
- 2 x 10-foot PVC pipes (cut into: 2 base pieces 18 inches long, 2 uprights 36 inches long, 1 crossbar 48 inches long)
- 4 x T-joint connectors
- 4 x end caps
Instructions:
For each of the two bases, take an 18-inch piece of PVC and attach a T-joint to each end. Insert a 36-inch upright into the top of each T-joint. You now have two freestanding uprights that look like goalposts without the crossbar.
For the jump bar itself, wrap the 48-inch PVC pipe with colored electrical tape in 6-inch stripes (red and white is traditional for visibility). The bar rests on top of the two uprights, held in place by gravity. When your dog hits the bar, it falls off harmlessly — this is called a “knockable” jump bar and is the same design used in professional agility.
To adjust the jump height, simply move the bar higher or lower on the uprights. For small dogs, start at elbow height (about 8-12 inches). For medium dogs, 12-18 inches. For large dogs, 18-24 inches. Never ask your dog to jump higher than their shoulder height.
Pro Tip:
Drill a small hole through each upright at your dog’s preferred jump height and insert a PVC T-joint as a cup to rest the bar on. This prevents the bar from sliding down the upright when your dog brushes it.
<img src="https://thriftypaw.com/wp-content/uploads/2026/07/post1890_img1.jpg" alt="Dog Training in backyard” width=”800″ height=”450″ class=”alignnone” />
Obstacle 2: Weave Poles (About 12 Dollars)
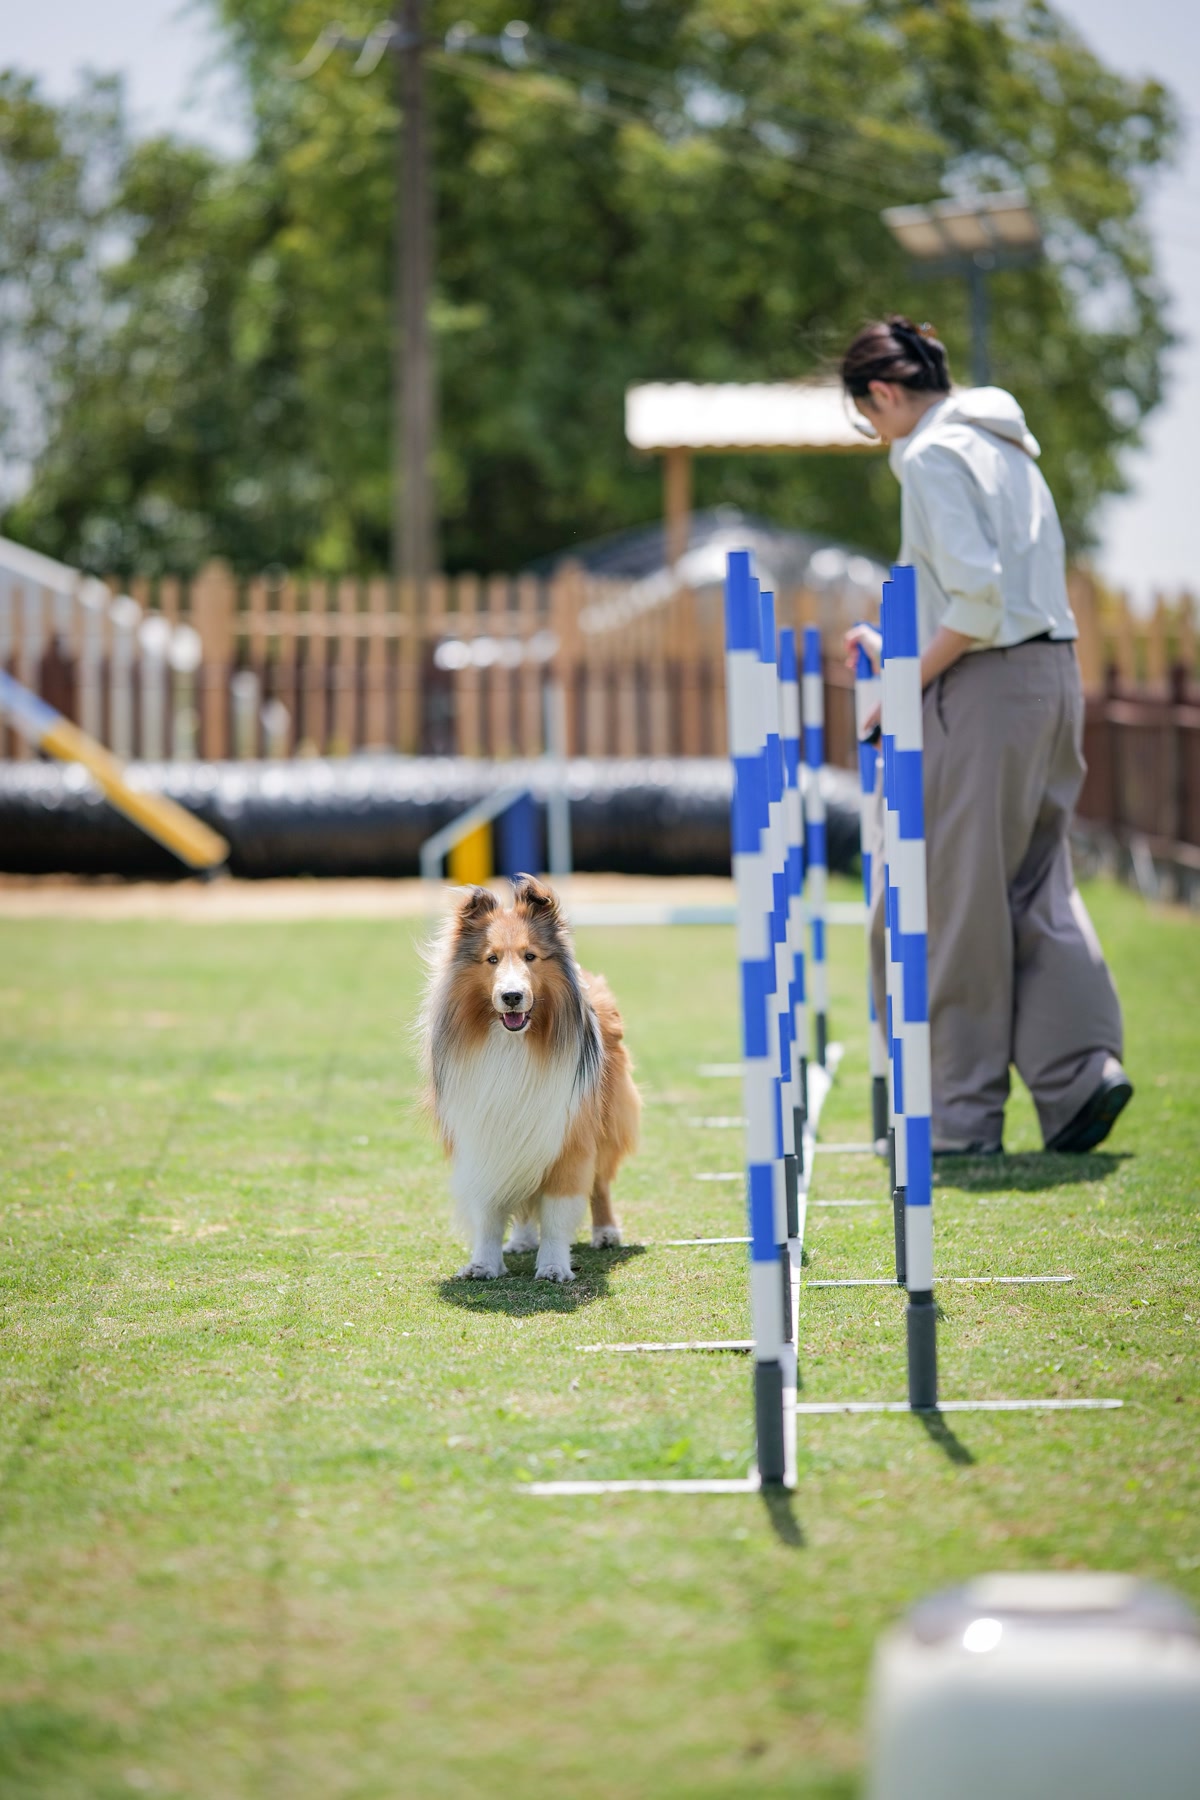
Weave poles are a line of vertical poles that your dog weaves in and out of. This is the hardest obstacle to teach but also the most impressive-looking and mentally stimulating. In competition, dogs weave through 6 to 12 poles at full speed. For backyard practice, 6 poles is plenty.
Materials:
- 1 x 10-foot PVC pipe (cut into 6 pieces, each 19 inches long for the poles)
- 6 x end caps (to cover the top of each pole for safety)
- Colored tape (wrap each pole for visibility)
Instructions:
The simplest weave pole setup uses short PVC pipes stuck into the ground. Cut the 10-foot pipe into six 19-inch sections. Push each section about 6 inches into your lawn, spaced 24 inches apart in a straight line. Put end caps on top to prevent sharp edges.
If you have hard ground or want portable poles, use the T-joint connectors as bases. Attach a T-joint to the bottom of each pole so it stands on its own. The T-joint creates a stable base that will not tip over when your dog weaves but can be easily moved.
Space the poles 24 inches apart — this is the standard agility spacing and works for all dog sizes. The poles should be at least 36 inches tall so your dog can see them clearly while weaving.
Obstacle 3: Pause Table (Free to 10 Dollars)
The pause table is a raised platform where your dog must sit or lie down and stay for 5 seconds. It teaches impulse control and is a great training tool even outside of agility. In competition, the table is 36 inches square and 8 to 16 inches high depending on dog size.
Materials:
- 1 x sturdy wooden plank, pallet, or heavy-duty plastic box
- Non-slip surface (rubber mat, yoga mat, or shelf liner)
Instructions:
This is the easiest obstacle. Find a sturdy pallet, wooden plank, or thick plastic box that can support your dog’s weight comfortably. It should be approximately 36 inches square and 8 to 12 inches high. Cover the top with a non-slip surface — a cut piece of old yoga mat works perfectly and costs nothing.
If you do not have anything suitable, check local businesses for free wooden pallets. Most warehouses and garden centers give them away. Sand any rough edges and you have a pause table.
Safety Note:
The table must not wobble or slide. If using a pallet, place it on flat ground. If using a box, add weight inside (sandbags or rocks) to prevent tipping. Your dog needs to feel stable on the table or they will refuse to use it.
Obstacle 4: Tunnel (About 15 Dollars)
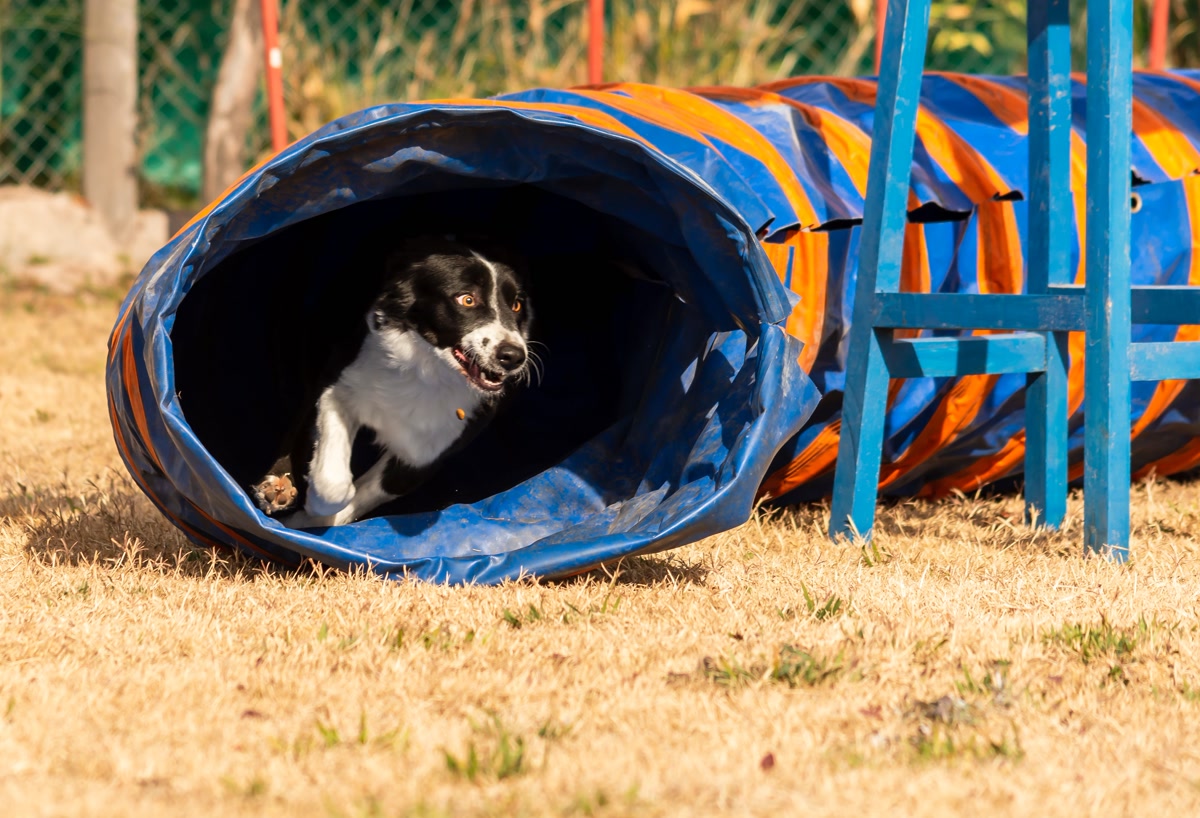
Tunnels are incredibly fun for dogs and build confidence in shy animals. A proper agility tunnel costs 80 to 200 dollars, but a children’s play tunnel works just as well for backyard practice.
Materials:
- 1 x children’s pop-up play tunnel (6-foot length)
- 4 x tent stakes or heavy objects (to anchor the tunnel)
Instructions:
Buy a children’s pop-up play tunnel on Amazon for about 15 dollars. These are made of lightweight nylon with a flexible wire frame. They pop open instantly and fold flat for storage. Look for one that is at least 18 inches in diameter — smaller tunnels work for small dogs but will be too tight for medium or large breeds.
Stake the tunnel ends to the ground with tent stakes or place heavy objects on either side to prevent it from rolling when your dog runs through. Introduce the tunnel by having your dog walk through it while you hold it open and straight. Once they are comfortable, let them run through on their own.
Safety Note:
Children’s tunnels are not as durable as agility tunnels. If your dog is a heavy chewer or tends to grab fabric, supervise them closely. Replace the tunnel if there are any holes or tears. The wire frame inside can be dangerous if exposed.
How to Introduce Your Dog to Agility
Building the equipment is the easy part. Teaching your dog to use it takes patience. Here is a simple progression that works for most dogs:
Week 1: The Jump
Set the bar on the ground (no height at all). Walk your dog over it on leash, treating and praising as they step over. Do this 10 times per session, twice a day. Once your dog walks over the bar without hesitation, raise it to 4 inches. Keep increasing gradually over the first week until your dog is jumping at elbow height.
Week 2: The Tunnel
Scrunch the tunnel to half its length. Have someone hold your dog at one end while you call from the other end. When your dog comes through, throw a party with treats and praise. Gradually extend the tunnel to full length over several sessions.
Week 3: Weave Poles
Start with just 3 poles (remove the others). Walk your dog through the poles on leash, guiding them in and out. Use a treat to lure them through the correct path. Once they understand the weave pattern with 3 poles, add one pole at a time until you reach 6.
Week 4: The Pause Table
Lead your dog onto the table and ask for a sit. Treat, then release. Once they sit reliably, ask for a down. Build up to 5 seconds of staying on the table before releasing. The pause table teaches impulse control, which transfers to better behavior in general — not just agility.
Week 5 and Beyond: Put It Together
Set up a simple course: jump, tunnel, weave, table. Run your dog through the sequence on leash first, then off-leash once they understand each obstacle. Time yourself for fun, but focus on accuracy before speed. A clean run is always better than a fast one with mistakes.
Should You Buy a Pre-Made Kit Instead?
If you do not want to build from scratch, several budget agility kits on Amazon include jumps, weave poles, tunnels, and pause boxes. These cost 50 to 80 dollars and save you the construction time. The VEVOR Dog Agility Training Equipment set is a popular option at about 75 dollars and includes everything you need for a complete course. If your time is worth more than the 25-dollar difference between DIY and a kit, buy the kit. VEVOR Dog Agility Training Equipment (Compare prices on Amazon)
For those who want to go even cheaper, PVC connectors and pipe are available in bulk. 1-inch PVC 3-way T-connectors (8-pack) are about 10 dollars and give you enough fittings for two jumps and a set of weave poles. Add 4 lengths of 1-inch PVC pipe from your local hardware store at 6 dollars each and you have the core of a course for about 34 dollars.

Bottom Line
You do not need 200 dollars of specialty equipment to do agility with your dog. Four 10-foot PVC pipes, a handful of connectors, a kids’ tunnel, and an old pallet add up to a complete course for under 50 dollars. The DIY route costs half what a pre-made kit costs and gives you the flexibility to adjust heights, spacing, and layout for your specific dog.
Agility is one of the best free activities you can do with your dog — the equipment costs almost nothing, it can be set up in a backyard or park, and it tires your dog out faster than any walk. A 20-minute agility session provides as much mental and physical stimulation as a 60-minute walk. If your dog has energy to burn and you have an afternoon to build, this is the project to start with.
Last updated: June 2026 | By ThriftyPaw
ThriftyPaw is reader-supported. As an Amazon Associate, we earn from qualifying purchases. This means we may earn a small commission when you buy through links on this site at no additional cost to you. We only recommend products we genuinely believe in. Thank you for supporting ThriftyPaw.
My take: The $50 PVC course is the correct buy for backyard fun — the $200-500 retail version is for competitors. Test interest with a broomstick first if you’re cautious, and let the dog’s pace set the training speed; agility’s value is in the doing, not the equipment.
Related guides
- The Wrong Crate Twice Cost Me 150 Dollars. One Divider Panel Fixes It.
- Best Dog Beds for Heavy Chewers Under 35
- Best Leashes for Big Dogs That Pull (Under 25 Each)
- Best Budget Dog Leashes for Small Dogs (All Under 15 Dollars)
- Best Dog Seatbelt Harnesses Under 30 Dollars (2026)
🐾 Get Your Free Big Dog First Aid Kit Checklist
Join our newsletter and get this free printable plus weekly tips.
Frequently Asked Questions
Is it cheaper to build or buy dog agility equipment?
Build, by an order of magnitude: the four-obstacle backyard course (jump bar, weave poles, pause table, tunnel) costs under $50 in PVC pipe, connectors, and a $15 children's play tunnel. The specialty-retail version runs $200-500 — for equipment your dog might not even take to.
How do I know if my dog will like agility before spending anything?
Test with household items first: a broomstick on two boxes as a jump, and see if the dog engages. Agility's real benefits — intense exercise, mental stimulation, confidence-building in shy dogs — show up in the first session or don't. The PVC course is cheap enough that the test barely matters, but free is still the right first step.
What's the total shopping list for a DIY agility course?
Four 10-foot PVC lengths ($24), 8 T-joint connectors ($8), 4 elbow connectors ($4), plus the children's pop-up play tunnel ($15) and tent stakes. Anchor the tunnel, keep the jump low for beginners, and the whole course assembles in an afternoon.
Liked this guide? Get the next one in your inbox — the pet budget checklist is free too.
✓ You're in — check your inbox.
No spam. Unsubscribe anytime. We never share your email.